

Getting Started with AWS


The Free-Tier
Amazon Web Services (AWS) provides a free-tier account that allows you to explore many of its services without leaving a dent in your bank account. In fact, if you are careful enough, you may not even spend a dime! The approach to achieve this is to deploy, use and destroy (DUD haha). Of course, do this ONLY for your disposable workloads, not production services. One added advantage to this approach is that it will help you reinforce concepts, as you have to set up from scratch again the next time you are learning something new. So, without further ado, below are quick steps to help you get started on the AWS cloud!

Creating an AWS Free-Tier Account
Go here.
Enter your email address and specify a password. Specify a desired name for your account - it can be anything you want and can also be changed later. Click on continue.
Specify the type of use - business or personal - depending on how you plan to use the account. I recommend personal. Click on continue.
Enter your billing information. The credit card you provide here is where Amazon will post any charges you may incur in the future. You can set up a notification that lets you know when your usage has incurred a charge up to a certain amount that you specify. We will do this later. Click on verify and continue.
Enter a valid phone number to confirm your identity. You can choose to receive a text message or a voice call. Enter the verification code and continue to the next and final step.
Select your support plan. For our purpose, the basic support plan will suffice. Select that and click complete sign up.
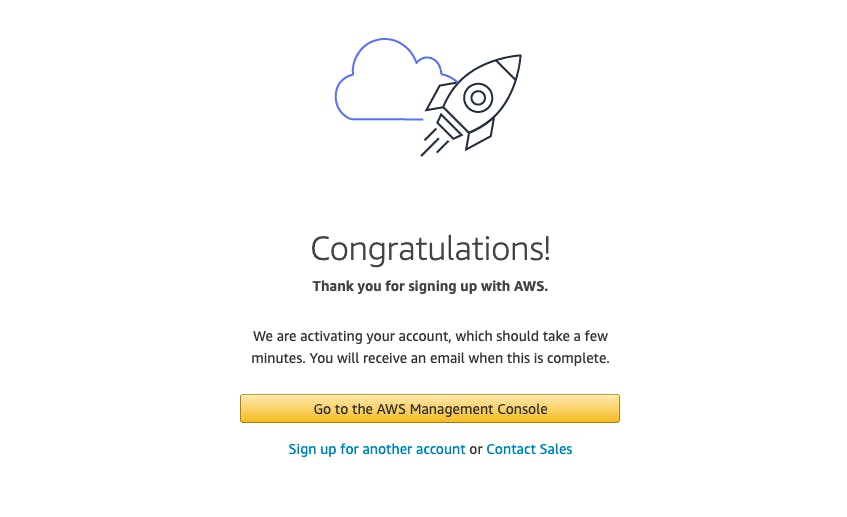
Voila! You just created your very own AWS account and are on your way to making magic! You should see a screen similar to below.
Click on the "Go the the AWS Management Console" button and you will be redirected to a login screen. Log in as root user using the email and password that you specified earlier. And that's it. You are in!
In my next post, I will show you how to secure your account and create an admin IAM user.
I hope you have enjoyed this post. Thanks for reading and please leave your comments below.